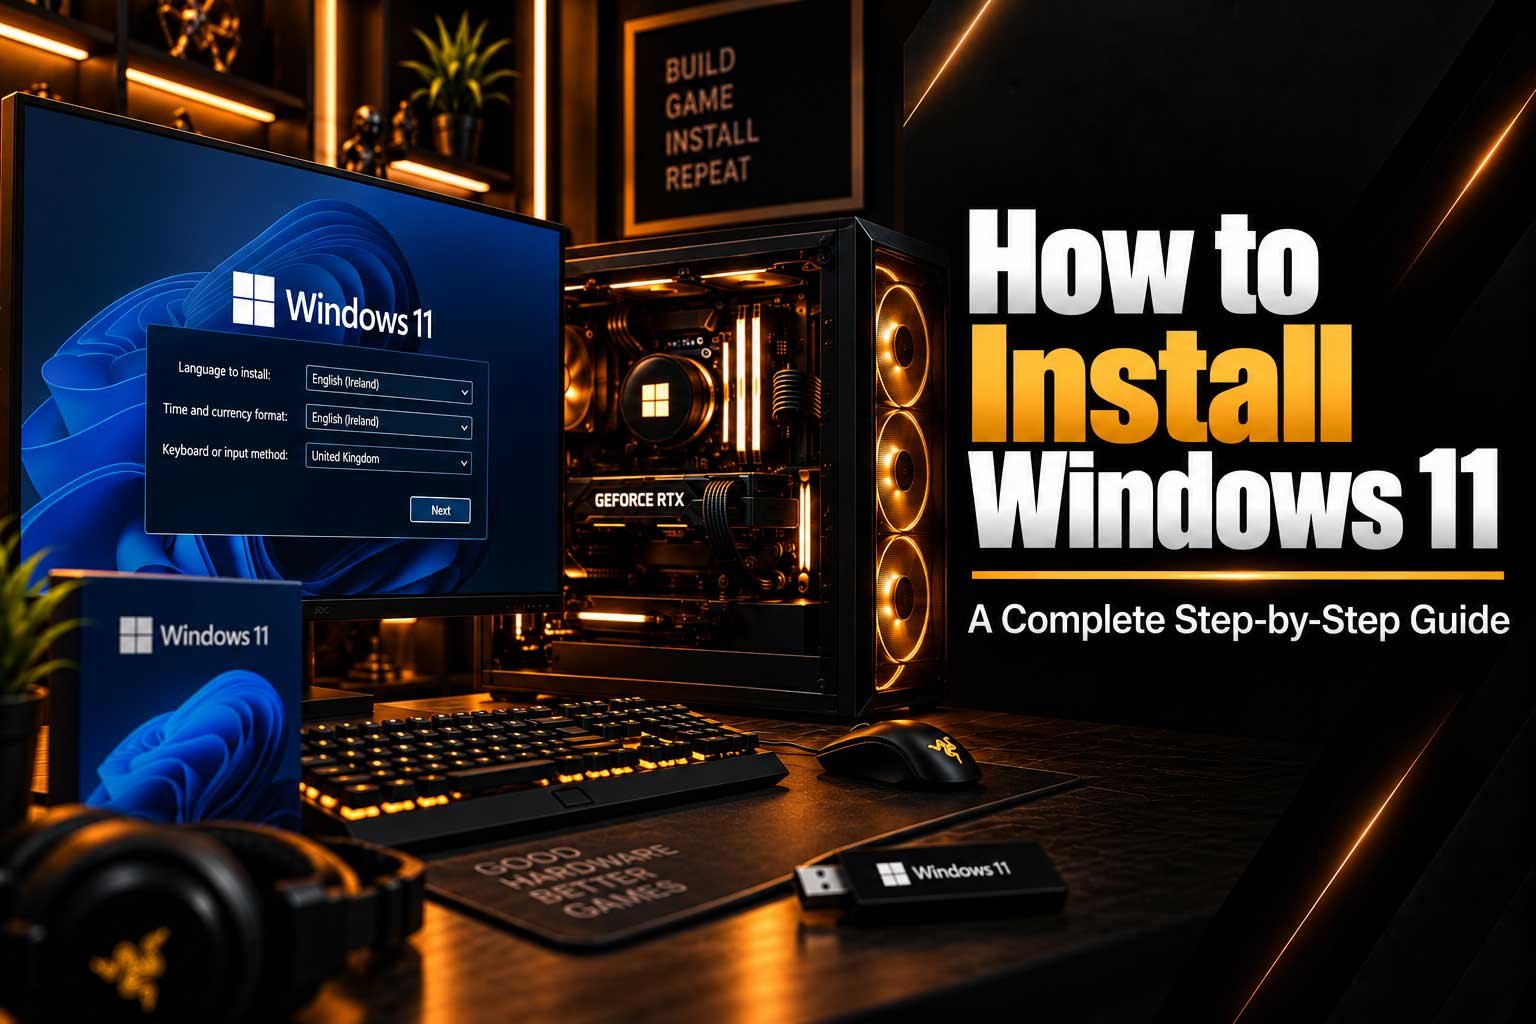
Learn how to install Windows 11 from start to finish, including preparing a USB drive, booting from installation media, choosing the correct installation options and completing the initial Windows setup.
- How to install Windows 11 step by step
- What you need before installing Windows 11
- How to create a Windows 11 installation USB
- How to boot a PC from a Windows 11 USB drive
- How to choose the correct Windows 11 installation options
- How to install Windows 11 on a new PC or fresh SSD
- What to do after installing Windows 11
How to Install Windows 11: A Complete Guide
Installing Windows 11 is one of the first steps when setting up a new PC or upgrading an existing computer. Whether you are building a gaming PC, replacing an older system or performing a clean installation, the process is relatively straightforward when your hardware is compatible. Before starting, it is important to understand the difference between a Windows 11 upgrade and a clean installation, as the latter can remove existing files and applications from your drive. Windows 11 requires compatible hardware including TPM 2.0, Secure Boot capability and a supported processor. In this guide, we will explain how to install Windows 11, what you need before starting, how to create installation media and what to do after Windows is installed.
What Do You Need to Install Windows 11?
Before beginning the installation, make sure your PC meets the Windows 11 system requirements. Windows 11 requires a compatible 64-bit processor with at least two cores, 4GB of RAM, 64GB of storage, DirectX 12-compatible graphics, UEFI firmware with Secure Boot capability and TPM 2.0. These are minimum requirements rather than specifications designed for demanding applications or gaming. A modern gaming PC will normally exceed these requirements considerably. You should also have a reliable internet connection available, particularly because Windows 11 Home and Windows 11 Pro for personal use require internet connectivity and a Microsoft account during initial setup. Having an internet connection ready can also make it easier to download updates and drivers immediately after installation.
| Requirement | Windows 11 Minimum |
|---|---|
| Processor | 1 GHz or faster, 2+ cores, compatible 64-bit CPU |
| RAM | 4GB or more |
| Storage | 64GB or more |
| Graphics | DirectX 12 compatible with WDDM 2.0 driver |
| Firmware | UEFI, Secure Boot capable |
| TPM | TPM 2.0 |
| Display | 720p or higher, larger than 9 inches |
| Internet | Required for initial setup of Home and personal-use Pro |
Windows 11 Upgrade vs Clean Installation
There are two common ways to install Windows 11. The first is an upgrade from an existing Windows installation. This option is useful when you want to keep your applications, files and existing configuration. The second option is a clean Windows 11 installation, which installs the operating system from scratch. A clean installation is particularly useful when building a new PC, replacing a storage drive or starting with a completely fresh system. However, you should always back up important files before changing partitions or reinstalling Windows. If your existing PC is eligible for Windows 11, Windows Update is generally the simplest approach for a normal upgrade. Installation media provides another option when you need to install Windows on a new or existing PC.
- Windows 11 Upgrade — keeps your existing Windows environment and personal files.
- Clean Installation — installs Windows from scratch.
- Installation Media — useful for new PCs and fresh installations.
- Backup — important before performing a clean installation.
How to Install Windows 11 Using Windows Update
If you already have Windows 10 installed and your computer meets the requirements, Windows Update is generally the simplest way to upgrade. Open Settings and navigate to Windows Update, then check for updates. If Windows 11 is available for your device, Windows will provide the option to download and install it. It is generally better to use the supported upgrade process rather than attempting to force Windows 11 onto unsupported hardware. Before beginning, install any available updates for your current version of Windows and restart the PC if requested. You should also connect the computer to reliable power and avoid interrupting the installation process. Depending on the PC and internet connection, the upgrade can take some time and the computer may restart several times during the process.
How to Create a Windows 11 Installation USB
For a new PC or a clean Windows 11 installation, a bootable USB drive is one of the most useful options. You need a USB drive with sufficient capacity and another working computer with internet access. Download the official Windows 11 installation media and use Microsoft's installation media tool to create the bootable drive. The USB will be prepared as installation media, allowing you to start the Windows setup process when the new PC boots from it. Remember that creating installation media can modify the contents of the USB drive, so do not use a drive containing files you need. Using official Windows installation media is also preferable to downloading modified Windows installers from unknown websites. Once the USB is ready, you can connect it to the target PC and select it from the boot menu.
| What You Need | Purpose |
|---|---|
| Windows 11 installation media | Provides the Windows installer |
| USB flash drive | Bootable installation device |
| Working computer | Used to create the installation USB |
| Internet connection | Download Windows and complete setup |
| Microsoft account | Required during certain Windows 11 setups |
How to Install Windows 11 on a New PC
When you build a new gaming PC without an operating system, you can install Windows 11 directly from a bootable USB drive. Connect the USB to the new computer, power it on and enter the motherboard's boot menu or UEFI firmware when prompted. Select the USB installation media as the boot device and allow Windows Setup to load. During installation, you will choose your language, keyboard layout and Windows edition before selecting the destination storage drive. If the drive is new and does not contain important data, Windows Setup can create the required partitions automatically. After confirming the installation, Windows will copy its files to the SSD and restart the computer. Once the first part is complete, remove the USB if necessary so the PC does not repeatedly boot into the installer.
Windows 11 Installation Steps
The actual Windows 11 installation process is guided by the Windows setup interface, but there are several important stages to understand. On a new PC, make sure you select the correct storage drive before confirming the installation. If multiple SSDs are installed, double-check the drive before deleting or formatting partitions. After Windows has copied the necessary files, the computer will restart and continue with the initial configuration. You will then configure your region, keyboard, network connection and account. The exact screens can vary depending on the Windows edition and installation method. Taking a few minutes to verify each option can help prevent accidental data loss, particularly when installing Windows on a PC that already contains other drives or partitions.
- Boot the PC from the Windows 11 USB installer.
- Select your language, region and keyboard layout.
- Choose the appropriate Windows 11 edition.
- Select the drive where Windows will be installed.
- Confirm the installation and allow Windows to copy its files.
- Let the PC restart and continue the setup process.
- Connect to the internet when required.
- Complete the Windows account and privacy settings.
What to Do After Installing Windows 11
Once Windows 11 is installed, the setup process is not quite finished. A new PC should receive Windows updates, motherboard drivers, graphics drivers and other software required for the hardware to operate correctly. Start by opening Windows Update and installing available updates. Then install the latest graphics driver from the relevant manufacturer and check your motherboard manufacturer's support resources for chipset, network, audio and other drivers when required. You should also check Device Manager for devices that have not been correctly recognised. After the drivers are installed, activate Windows using a valid licence if required. Finally, install your applications, games and preferred software. Taking these steps helps ensure your new PC is properly configured before you begin gaming or other demanding workloads.
- Run Windows Update.
- Install the latest GPU drivers.
- Install required chipset and motherboard drivers.
- Check Device Manager for missing drivers.
- Activate Windows with a valid licence.
- Install your essential applications and games.
- Configure Windows security and privacy settings.
How to Check if Your PC Supports Windows 11
If you are unsure whether an existing computer can run Windows 11, the PC Health Check application can help determine upgrade eligibility. Compatibility depends on more than simply having enough RAM or storage. The processor must be supported, while the system must also meet requirements such as TPM 2.0 and Secure Boot capability. Some older PCs may technically have enough performance to run modern software but still fail official compatibility checks because of their platform or firmware configuration. Before replacing hardware, it is worth checking the specific requirements of your system and motherboard. If you are upgrading an eligible Windows 10 device, using the normal Windows Update process can also help ensure that the installation is performed through a supported upgrade path.
Can You Install Windows 11 Without Internet?
Internet requirements during Windows 11 installation depend on the edition and type of setup being performed. Windows 11 Home and Windows 11 Pro for personal use require internet connectivity and a Microsoft account during initial device setup. This means that users setting up a new PC should be prepared to connect the computer to the internet during the setup process. Internet connectivity is also useful immediately after installation because Windows Update can download security updates, hardware drivers and other components. If you are reinstalling Windows on an existing PC, the exact setup experience can differ depending on the Windows edition and installation method. For a new gaming PC, having an Ethernet cable or Wi-Fi connection ready can make the initial setup considerably easier.
Windows 11 on a New Gaming PC
If you are building or buying a new gaming PC in Ireland, Windows 11 is now the standard operating system for modern gaming systems. A new computer should already meet Microsoft's minimum requirements, but the final gaming experience depends on the hardware selected for the PC. Your processor, graphics card, memory and storage all contribute to overall performance, while the monitor determines how that performance is displayed. If you are planning a new system, you can explore the current CompHub gaming PC range rather than choosing hardware based only on Windows requirements. Component availability can change over time, so it is better to focus on the intended gaming resolution, applications and performance requirements when choosing your system.
Browse CompHub Gaming PCs for current entry-level gaming systems, or explore CompHub Gaming Plus, CompHub Gaming Pro and CompHub Gaming Elite for different performance levels. For users interested in a white gaming setup, CompHub White Plus, CompHub White Pro and CompHub White Max are also available. These links lead to the current product pages, where specifications and availability can be checked before ordering.
Windows 11 Installation vs PC Upgrade
| Situation | Recommended Approach |
|---|---|
| Existing compatible Windows 10 PC | Windows Update upgrade |
| Brand-new PC | Windows 11 USB installation |
| Replacing an SSD | Clean Windows 11 installation |
| Major software problems | Consider a clean installation after backing up data |
| PC does not meet requirements | Check compatibility and hardware upgrade options |
Common Problems When Installing Windows 11
Although Windows 11 installation is designed to be straightforward, users can encounter problems when hardware, firmware or installation media is not configured correctly. Common issues include the PC not recognising the USB drive, Secure Boot being disabled, TPM 2.0 not being enabled or the installer selecting the wrong storage device. Hardware compatibility can also prevent an upgrade from being offered. If the installation fails, check the exact error message rather than repeatedly restarting the installation. You should also verify that the installation USB was created correctly and that the target PC meets Windows 11 requirements. For an existing system, hardware troubleshooting may be necessary before attempting another installation. A clean and properly prepared installation environment can prevent many avoidable problems.
- USB drive not detected — check the boot menu and installation media.
- TPM 2.0 error — check TPM settings in UEFI.
- Secure Boot error — verify the firmware configuration.
- Storage not detected — check drive connections and firmware settings.
- Compatibility warning — verify the Windows 11 requirements.
- Installation failure — recreate the installation media and retry.
Useful CompHub Guides Before and After Installing Windows
Installing Windows is only one part of setting up a modern PC. Once the operating system is ready, there are several other areas worth understanding if you want to keep your computer running smoothly. Our Windows shutdown timer guide explains another useful built-in Windows feature, while Should You Upgrade Your PC or Build a New One? can help if you are deciding what to do with an older system. If storage is becoming a problem, our guide on why your storage gets full covers common causes and solutions. These guides can be useful references when maintaining a Windows gaming PC over time.
Final Thoughts
Learning how to install Windows 11 is a useful skill whether you are building your first gaming PC, replacing an SSD or upgrading an existing computer. The most important steps are checking hardware compatibility, creating reliable installation media when necessary, backing up important files and selecting the correct storage device during setup. After installation, Windows Update, hardware drivers and activation should be completed before installing your main applications and games. For a new PC, the process can be especially simple when the system is already configured around modern Windows 11 requirements. If you are still deciding what type of computer to buy, you can browse the current CompHub Gaming Plus, CompHub Gaming Pro and CompHub White Pro options and choose a system based on your actual performance needs.